8th May 2025
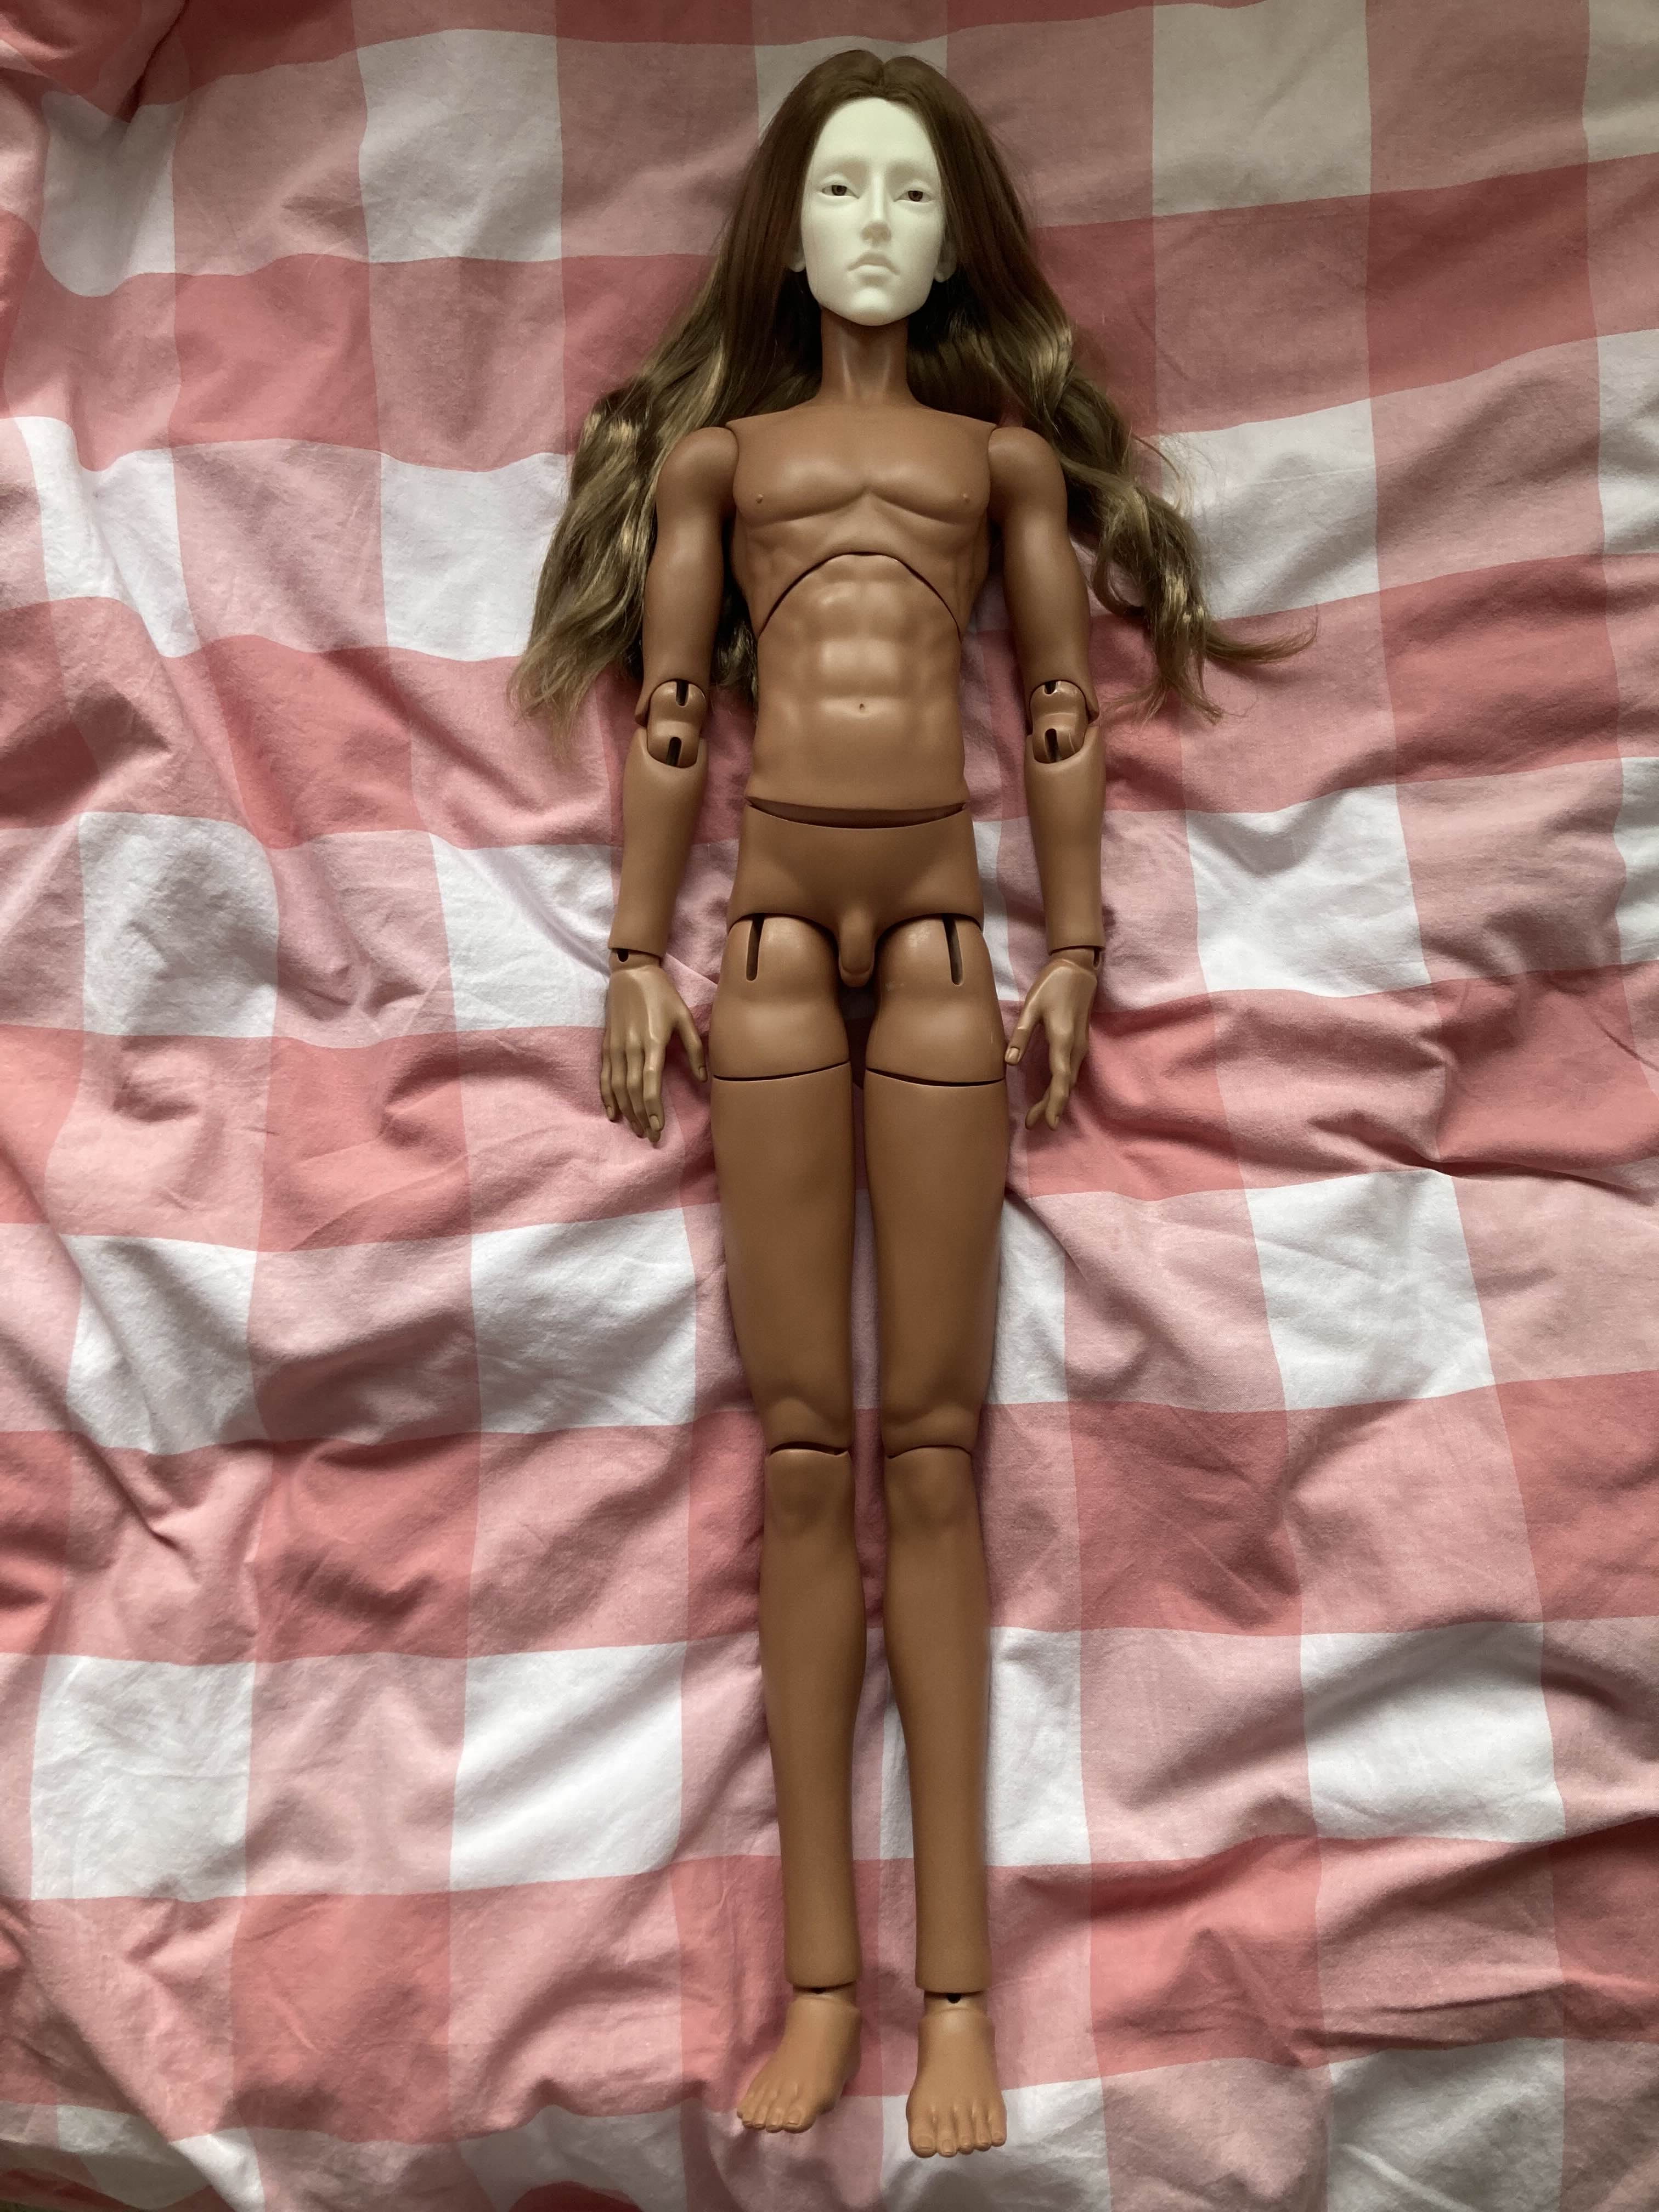
I love dyeing BJDs with Rit Dyemore, but up until now I had only ever dyed an entire doll a fantasy colour.
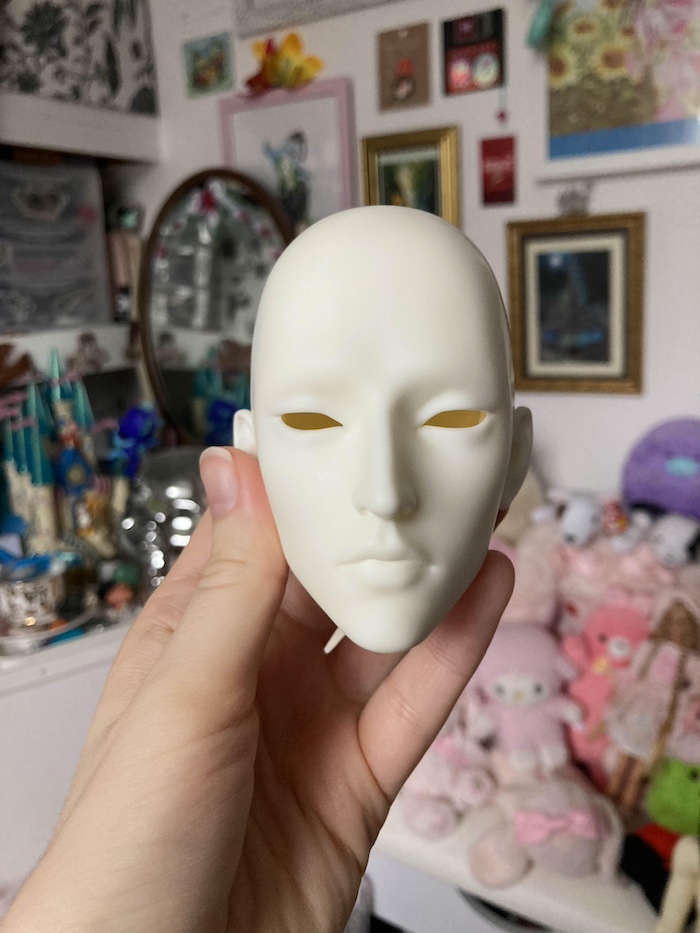
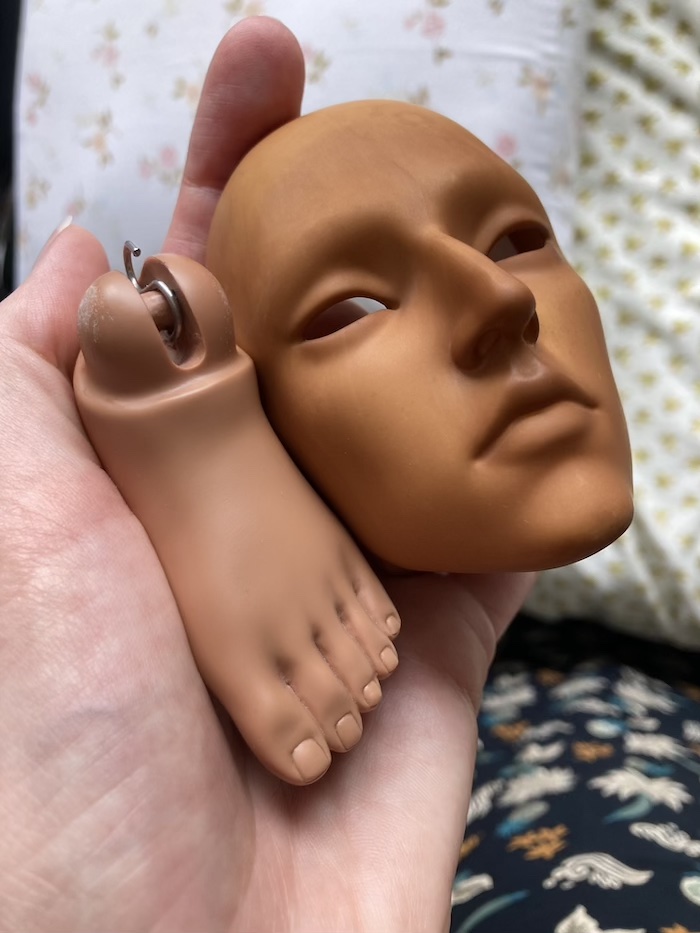
This project required something different- colour matching a white resin head to a tan resin body.
|
|
|
|
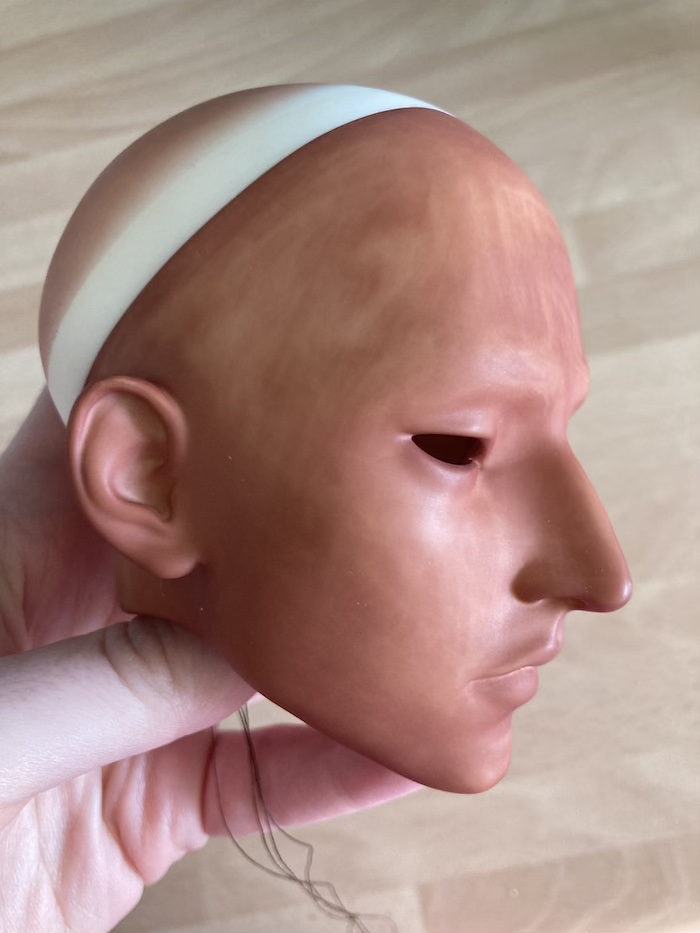
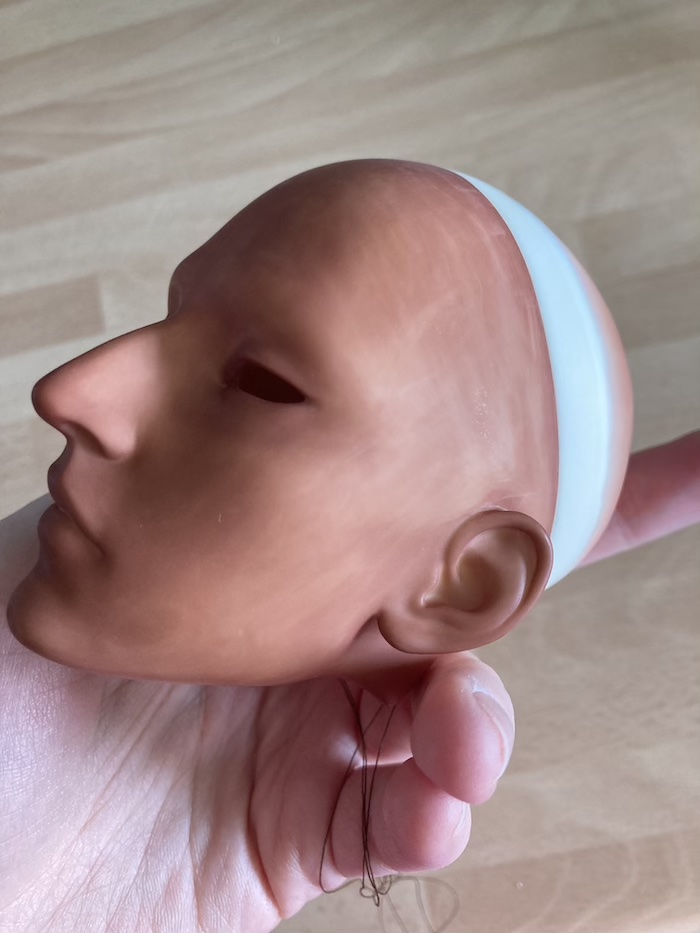
I admit, I was really scared to mess it up- especially as the head in question (Mori 9 Lyra) is a little hard to come by, so it would be difficult to replace if I ruined it. So, I decided to send it away to an artist who does all sorts of doll mods and get them to do it for me. I sent a foot along to colour match to.
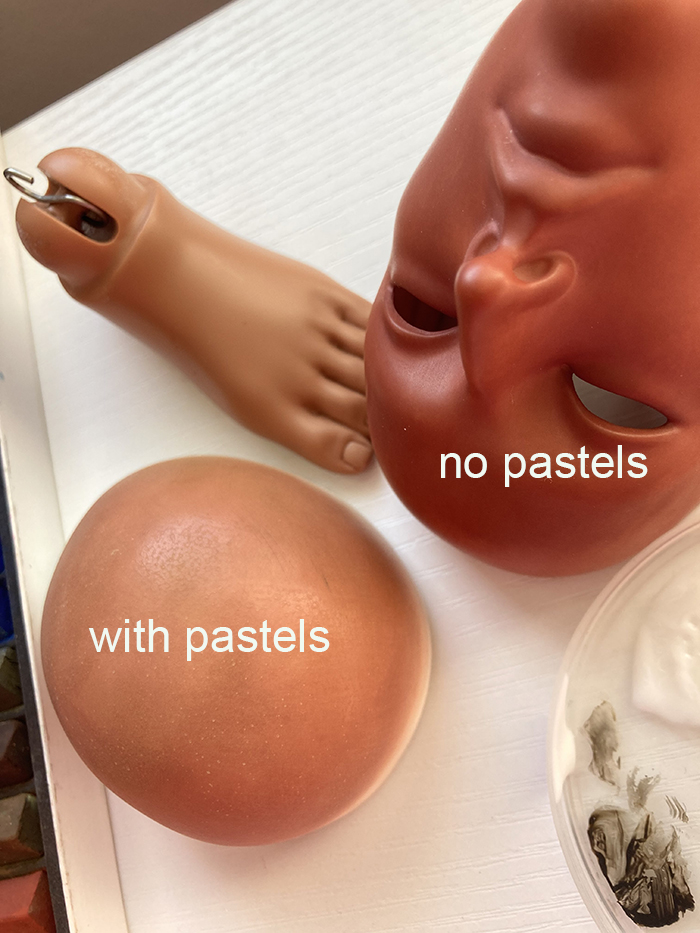
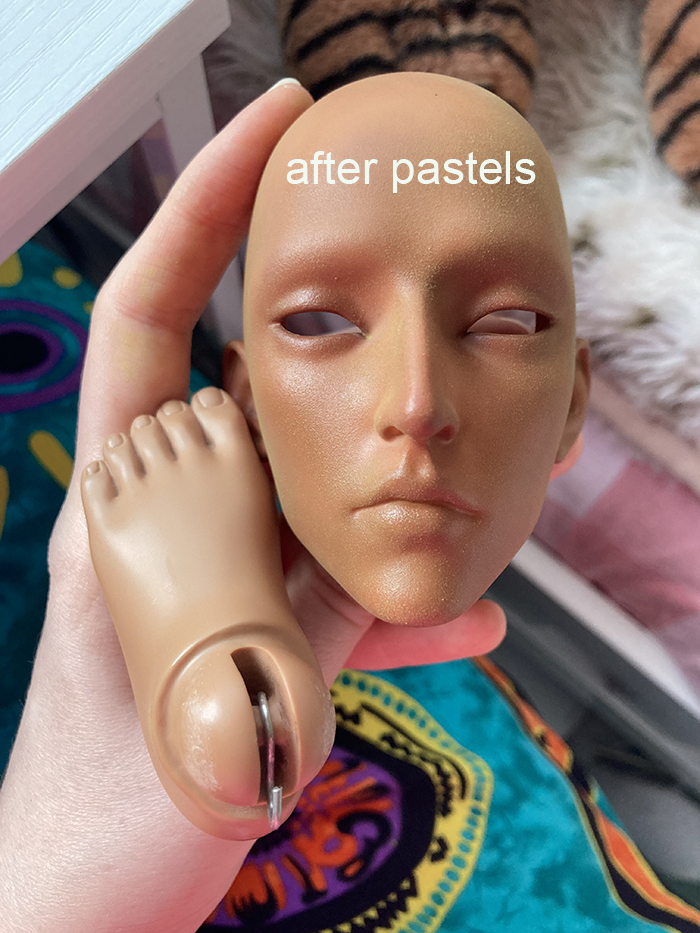
The dye job came back very even, but unfortunately not a colour I was happy with at all. It was too dark and too red. At first I tried to colour correct it by blushing it with pastels and, whilst I did manage to tone down the red, it left a greenish haze. I realised that I had no choice but to try and remove the dye and start from scratch.

|
|
|
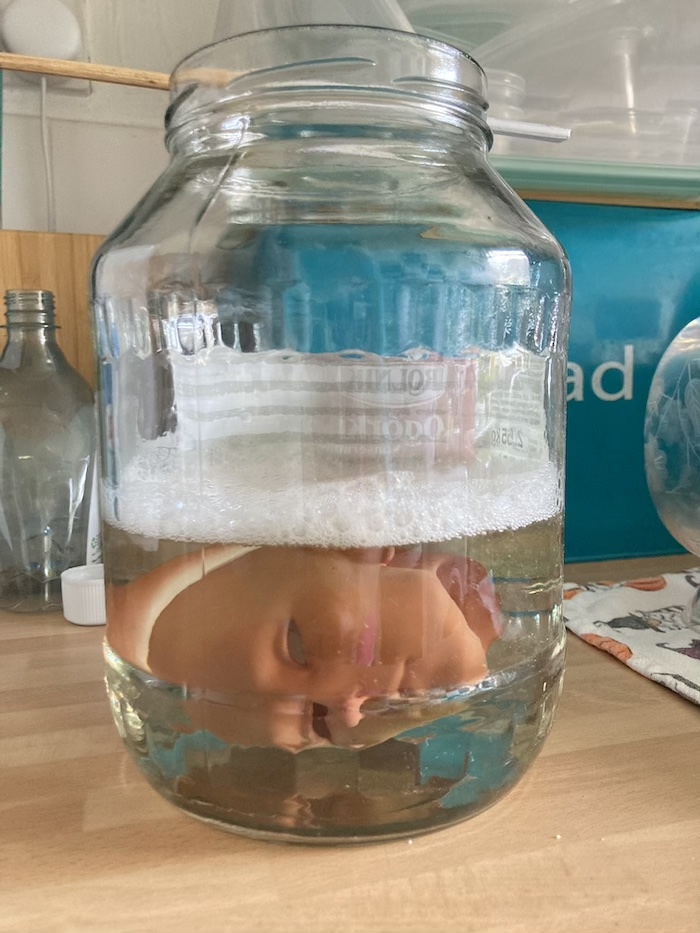
To remove the dye, and the pastel blushing, I soaked the head in Winsor and Newton brush cleaner.
It removed the blushing and sealant very easily, but only removed a little of the dye, leaving it streaky but hardly faded.
To get a jar big enough to fit the head I had to buy a massive jar of gherkins! Luckily this is one of my favourite foods, so no hardship!
|
|
|
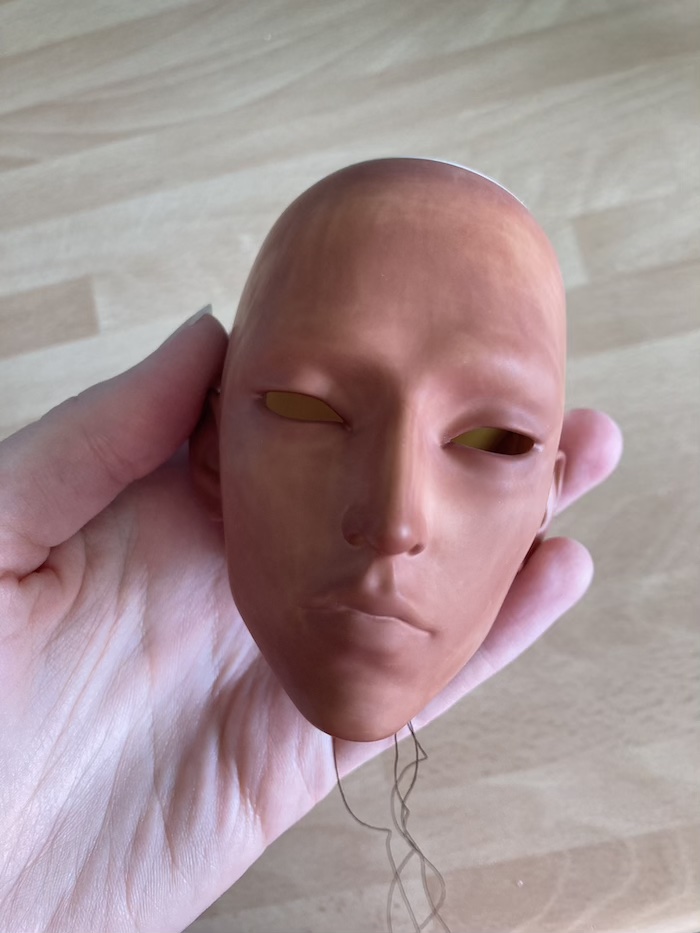
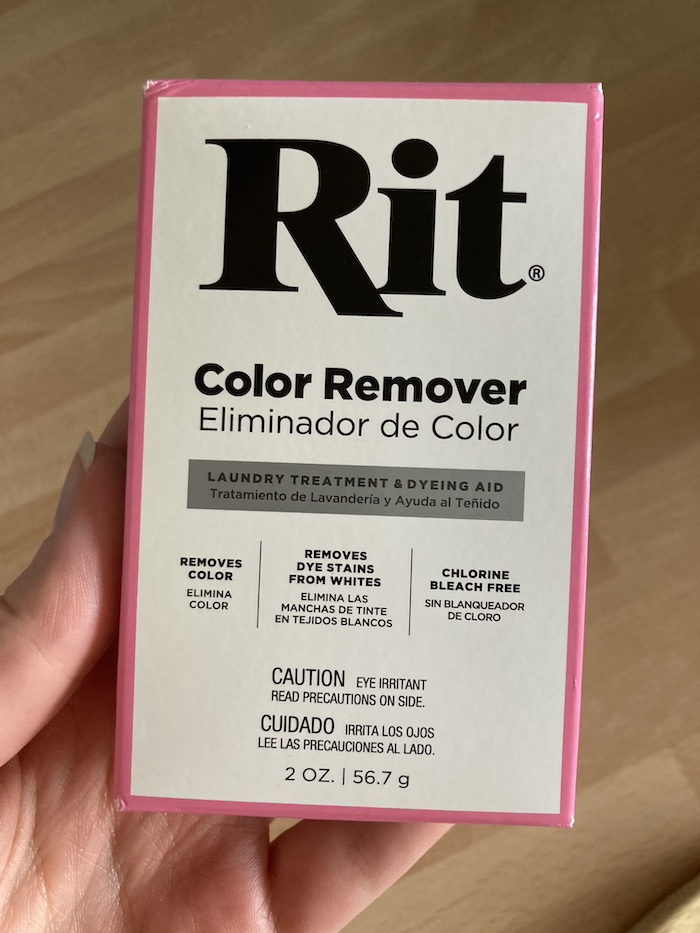
I discovered that Rit make a dye remover, designed to remove dye from clothing and create a blank slate for a new dye job.
I decided to try this out on the head and WOW I am so impressed with this stuff! I wasn't expecting it to remove nearly as much dye as it did, hoping to end up with a pale brown at best, but instead I was left with only a faint yellowish green colour.
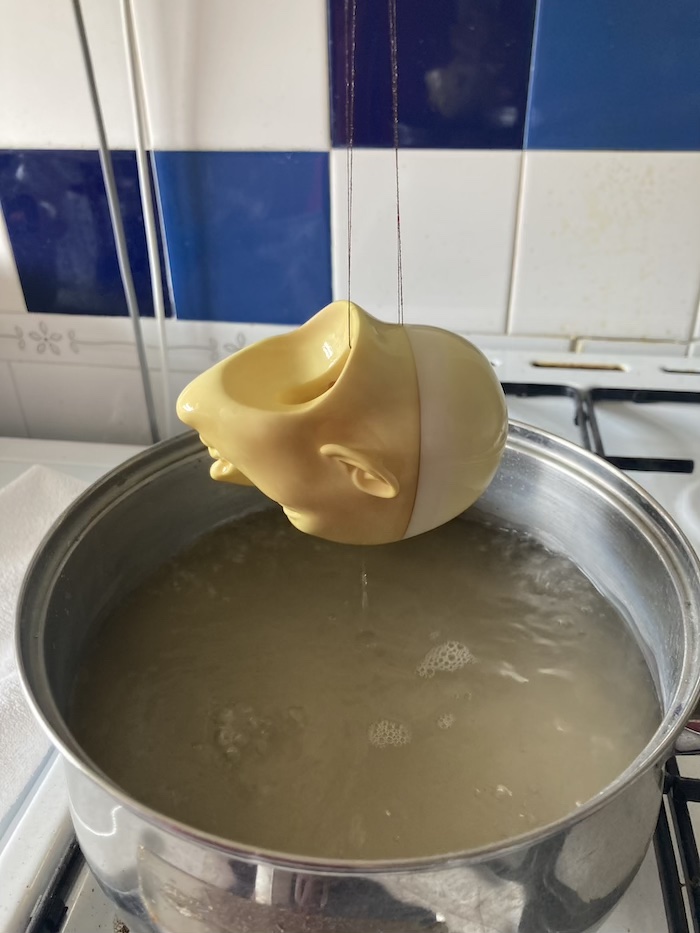
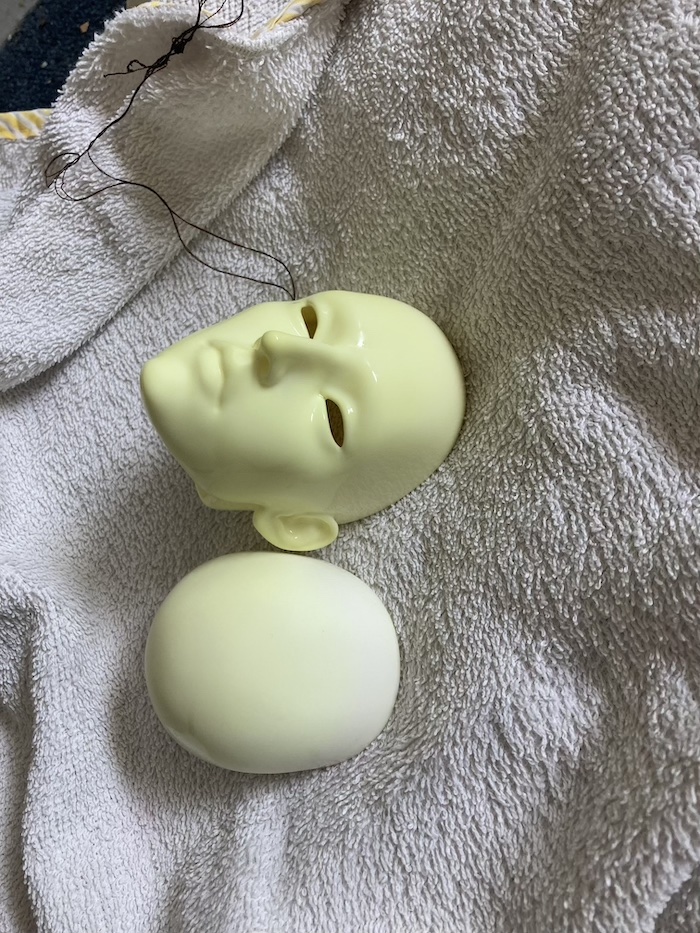
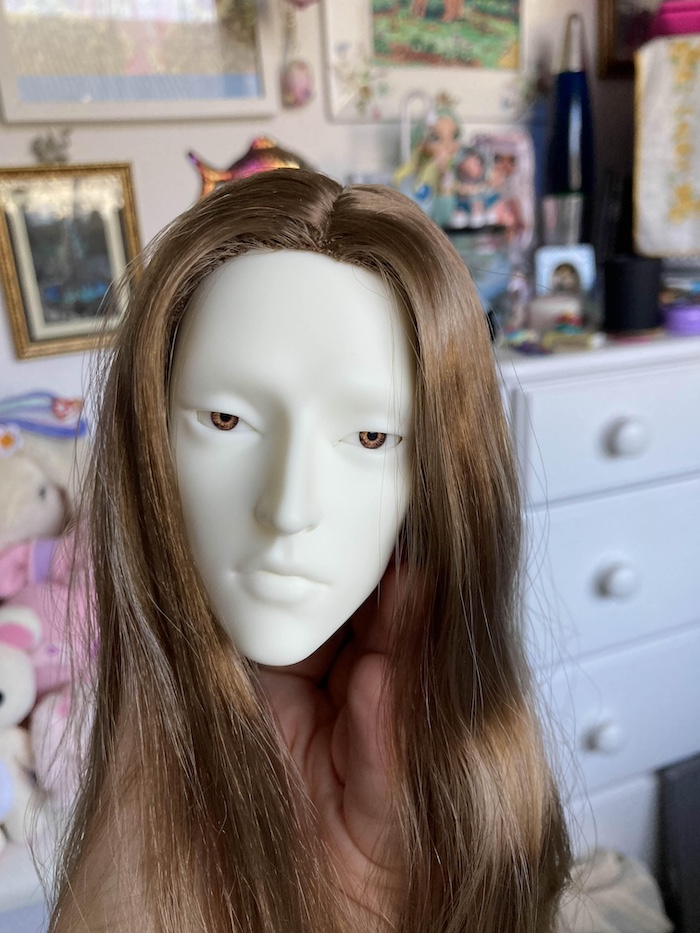
Now back at square one, or as close to as I could get, it was time for another stove top dyeing session!
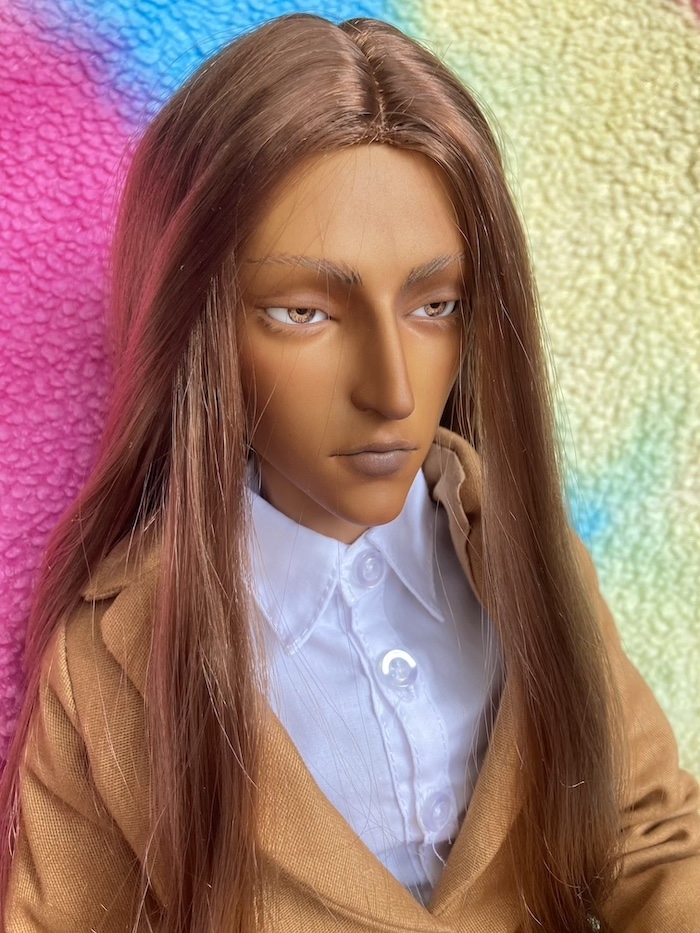
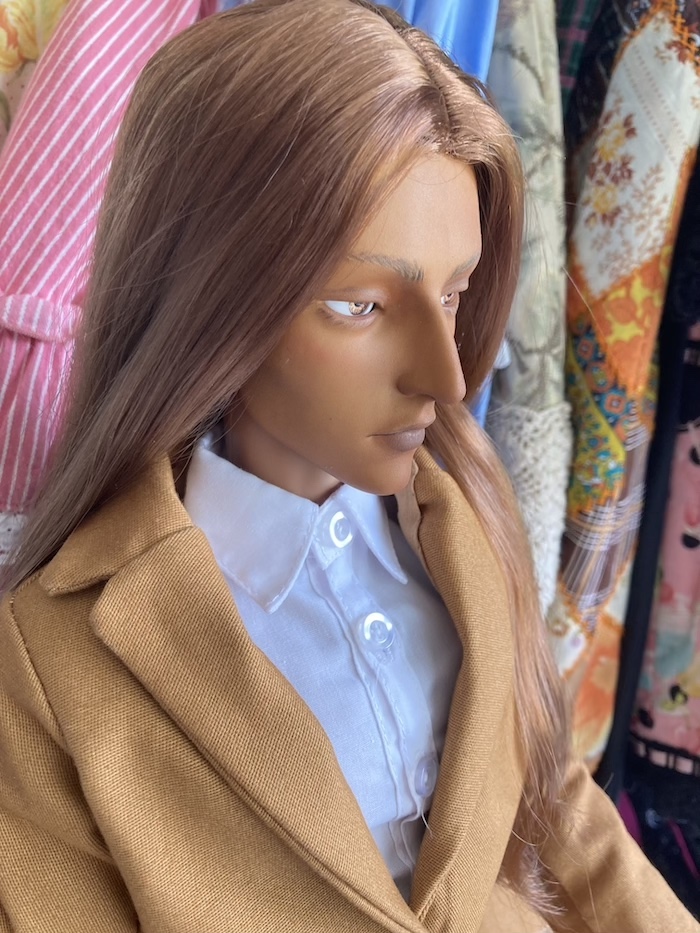
I used a whole bottle of Rit Dyemore in Sandstone and over all I am pretty pleased with the colour. Sadly, the job is not nearly as even as the first one, due I expect to the uneven removal of the previous dye job, but luckily most of the uneveness was around the outside of the face, leaving most of the main features quite smooth looking.
I wish I had been brave enough to try it myself from the start, but never mind- I will know for next time!
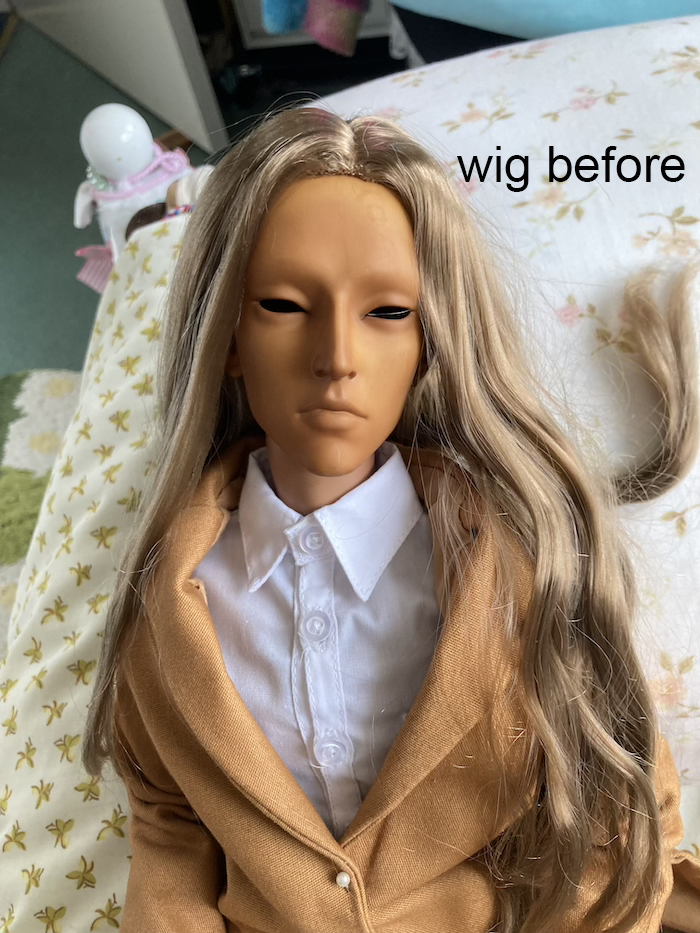
Whilst I had the dye on the hob, I decided to give his wig a dip in the colour too, as the shade was a bit cool toned for the look I had in mind. It came out a little darker than I was aiming for (probably because I dropped the wig in and had to fish it out with a metal spoon!) but I am very pleased with it overall.
I also dipped his hands in briefly, hoping to colour correct the fading on them. This wasn't completely successful, but it was worth a try.
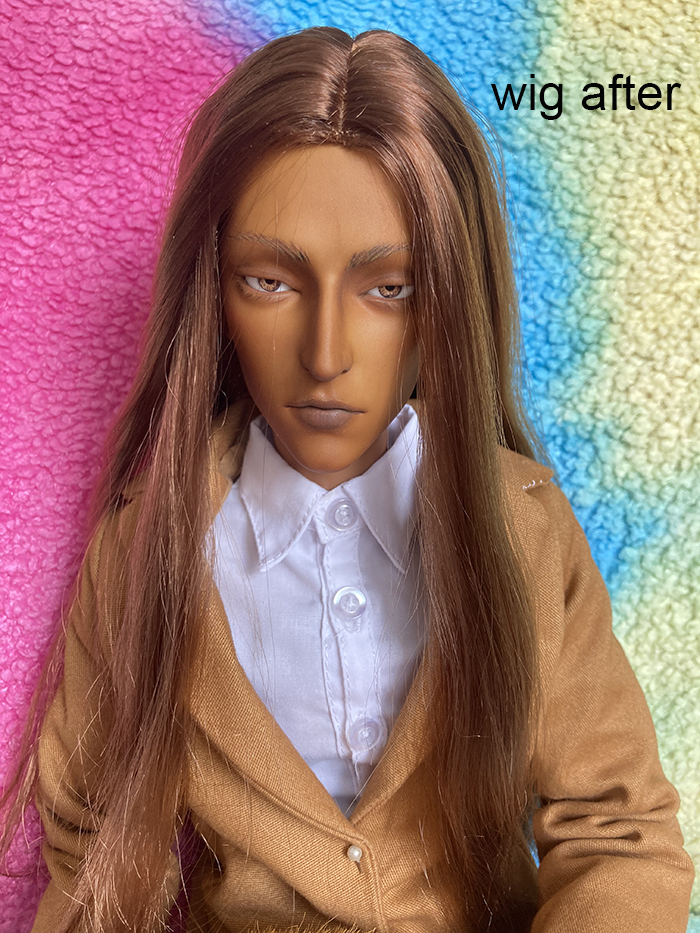
The faceup proved quite hard to do, as I didn't have the exact pencil colours to match the wig, but he's certainly looking more himself than when I started!
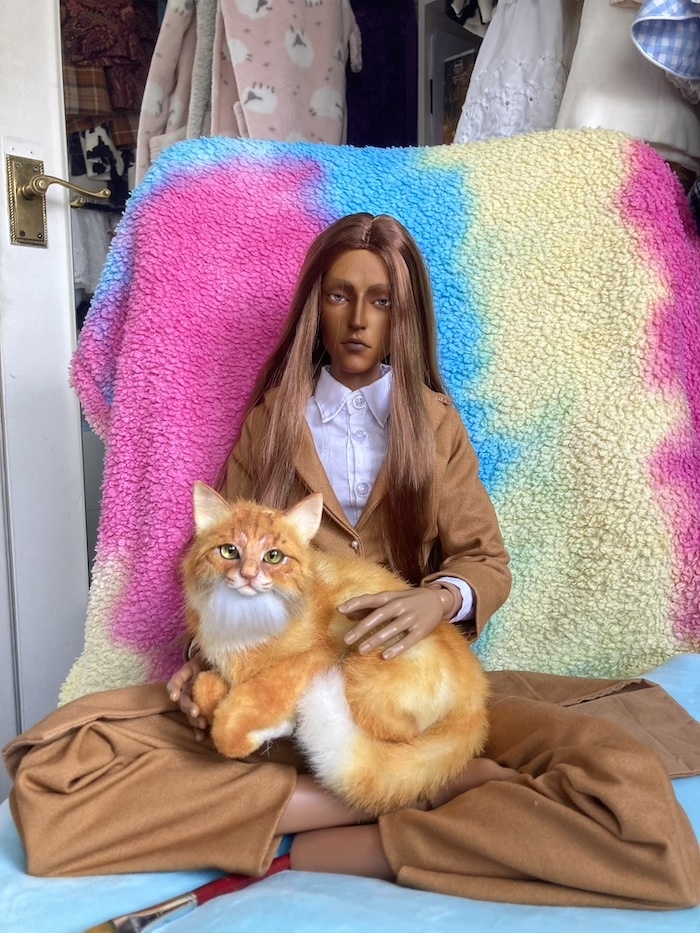
If I ever need to colour match again, I will brave it myself, as I had a lot of fun and I'm pretty happy with the end result.
from 2018 to forever